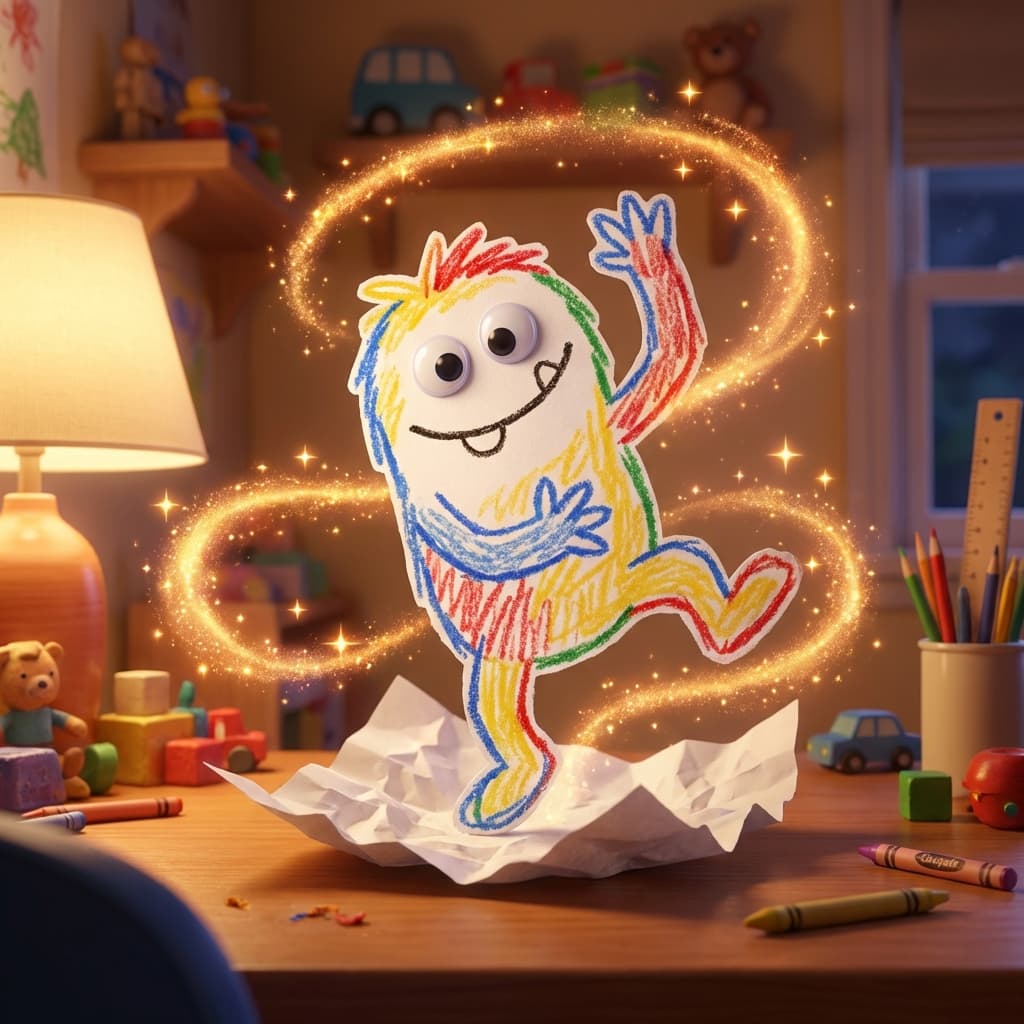
How to Animate Drawings with AI (2026 Free Step-by-Step)
If you searched “how to animate drawings,” you probably want one of two outcomes:
- Turn a child’s sketch into a fun moving video.
- Publish short vertical clips for TikTok, Reels, or Shorts.
The good news: you no longer need traditional frame-by-frame animation software.
With modern AI workflows, a clean photo of a drawing is often enough to generate a usable clip.
This guide explains the exact process, common failure points, and when to use Meta Animated Drawings vs a simpler web workflow.
This page exists on AI Baby Dancer for a specific reason:
- Many parents and creators start with hand-drawn characters before they try photo-based dance generation.
- The same quality logic (clean input, stable motion, short first pass) determines whether output is usable.
- It bridges top-of-funnel drawing intent to our core product workflow: image to motion-controlled short dance clip.
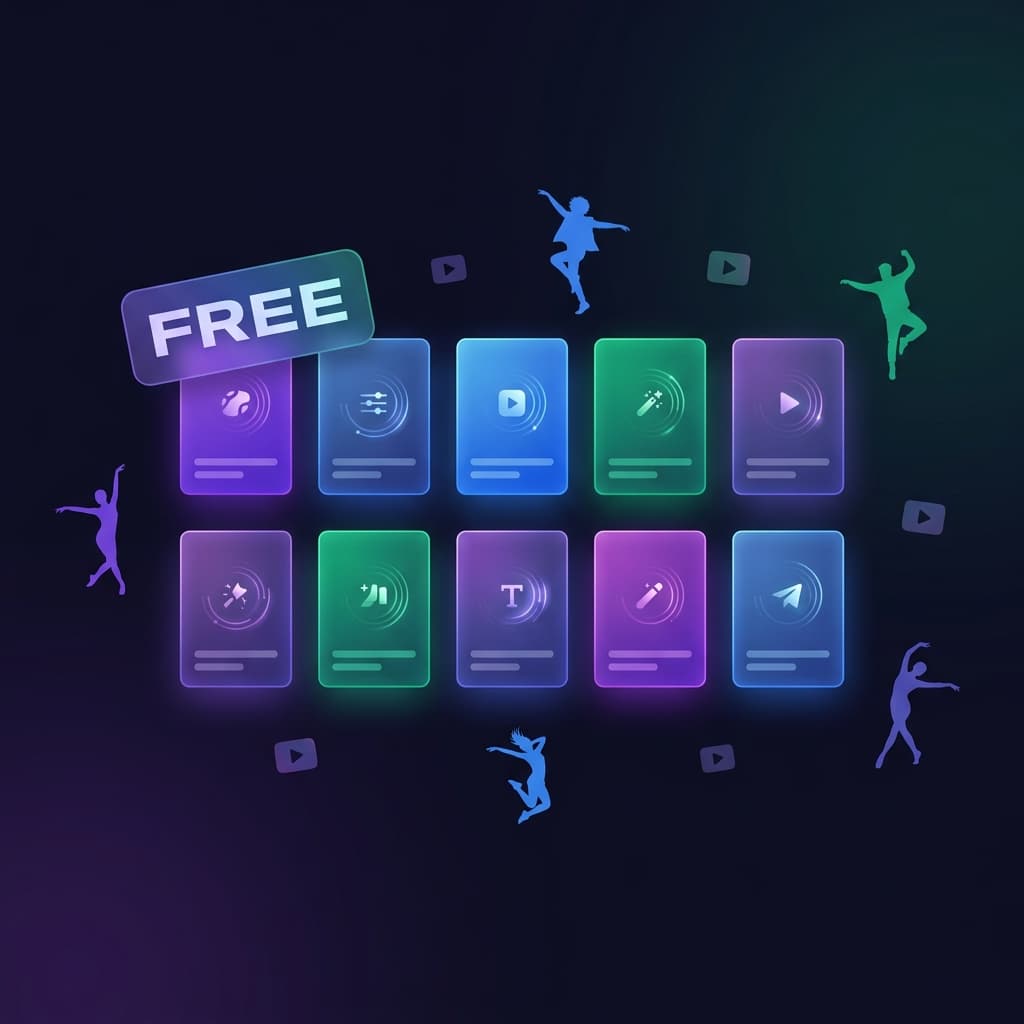
Quick answer: the 5-step workflow
- Draw (or scan) a character with clear limb separation.
- Capture a sharp, well-lit image.
- Pick the right animation workflow for your goal.
- Generate a short test clip first.
- Iterate once for quality, then export social format.
If you want a browser-first path with fewer manual steps, start with AI Baby Dancer.
Step 1) Prepare the drawing for AI
Most “weird animation” results happen before generation starts.
Use this checklist:
- Keep arms and legs visually separated from the body.
- Use clear outlines and good contrast against background.
- Avoid heavy overlap (e.g., crossed arms hiding torso edges).
- Prefer front-facing or slight angle poses for stable motion.
For kids’ art, you do not need perfect anatomy. You only need clean structure so the model can infer joints and boundaries.
Step 2) Capture a clean input image
A better photo usually improves output more than changing tools.
Do this:
- Shoot in even lighting (avoid strong shadows on the drawing).
- Fill most of the frame with the drawing.
- Keep camera stable and in focus.
- Crop out extra clutter before upload.
If your final clip looks soft, use our quality checklist here: How to Fix Blurry AI Baby Dance Videos.
Step 3) Choose the right tool path
Option A: Meta Animated Drawings
Best when you want an educational, research-style workflow and are okay with manual adjustment.
Typical characteristics:
- More manual setup and correction
- Useful for experimentation and classroom demos
- Can require extra cleanup on difficult drawings
Reference: Meta Animated Drawings demo.
Option B: Browser-first AI workflow (AI Baby Dancer)
Best when you want fast output and fewer manual steps.
Typical characteristics:
- Faster path from upload to first result
- Better for non-technical users and families
- Easier to repeat across many drawings
- Better alignment with short dance-style output for social sharing
If you prefer no-install usage, see AI Baby Dance App.
Step 4) Generate a short test first
Do not start with long duration.
Use a short first pass to validate:
- Character boundaries stay stable
- Motion looks coherent
- Facial/feature distortion is acceptable
Then adjust one variable at a time:
- Input crop
- Motion intensity
- Style/template choice
For deeper strategy on motion method selection, read: AI Dance: Motion Control vs Text-to-Video.
Step 5) Export for social platforms
For short-form publishing:
- Prioritize vertical framing when possible
- Keep clips concise for watch-through
- Verify clarity after platform compression
If you are publishing repeatedly, create a mini QA pass:
- Is the subject recognizable in first 2 seconds?
- Any severe edge warping on fast motion?
- Is text/caption area safe (not covering key motion)?
What does it cost to test different drawing ideas?
When you animate drawings, the fastest way to burn credits is to test long clips before you know whether the sketch is clean enough. Start with one short preview, confirm that the limbs stay readable, then spend more only on the version worth sharing.
If you want to compare free trial access with paid plans before batching more drawing ideas, check: AI Baby Dancer pricing and credits.
Creative idea bank (use after your first successful clip)
If the technical workflow already works, the next bottleneck is usually creativity. Use this list to produce repeatable batches:
- Robot warm-up sequence
- Superhero cape groove
- Friendly monster shuffle
- Alphabet character dance set
- Family mascot dance-off
- Historical costume remix
- Weather-themed dancer (sun/rain/snow)
- Animal silhouette beat test
- Classroom doodle-to-reel series
- One song, five drawing styles
- Festival character pack
- "Then vs now" drawing evolution
Reusable mini prompt format:
- Character concept
- Motion energy (low/medium/high)
- Clip duration target
- Output format (vertical social or demo)
This structure helps you scale ideas without turning each run into random trial-and-error.
Common mistakes (and fast fixes)
Mistake 1: Limbs overlap too much
Fix: redraw or crop to reveal separation around elbows/knees.
Mistake 2: Low-quality source capture
Fix: recapture with better lighting and closer framing.
Mistake 3: Motion too aggressive for the pose
Fix: test milder motion first, then scale up.
Mistake 4: Trying to solve everything at once
Fix: change one variable per rerun; track what changed.
Which page to read next?
If your goal is quality debugging:
If your goal is workflow/tool choice:
If your goal is setup help: