How to Make an AI Baby Dance Video for Free (Step-by-Step Guide)
If you searched for "how to make an AI baby dance video," you probably want one thing: a clear workflow that actually works from a single photo, without spending hours testing random settings.
This guide gives you that workflow. It is written for beginners, but the quality checks are also useful if you already create short-form clips for TikTok, Reels, or Shorts.
By the end, you will know:
- Which photo gives the best output quality
- How to choose a style or motion template
- How to use baby dance AI prompts (and when to skip them)
- How to avoid blurry or unstable results
- How to export and share without quality loss
If you want to follow along while reading, open the free generator here: Free AI Baby Dance Video Generator.
Quick answer: the 3-step workflow
If you only need the shortest version:
- Upload a clear photo
- Pick a style or motion template (no prompts needed)
- Generate, review, then download and share
That is the core. The rest of this article explains how to do each step well enough to get consistent, social-ready results.
Before you start (important setup)
Most failed outputs are caused before generation starts. Run this checklist first:
- Use a clear, well-lit source photo
- Keep the subject visible (face + body when possible)
- Avoid heavy filters or screenshot-compressed images
- Start with a short test generation before spending more credits
If you are unsure whether your source image is strong enough, read: How to Fix Blurry AI Baby Dance Videos.
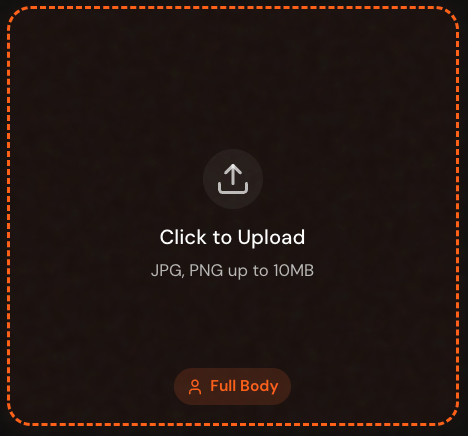
Step 1: Upload a high-quality photo
Your input image controls everything. AI motion can improve movement, but it cannot fully fix a weak source.
What makes a good photo
- Resolution around 1080px or higher on the long side
- Face is visible and not motion-blurred
- Subject is not too small in frame
- Lighting is even (no harsh shadows on face)
What to avoid
- Screenshots from social apps (often compressed)
- Extreme close crops with no body context
- Dark photos with aggressive noise reduction
- Group photos where the target subject is unclear
For the complete photo preparation checklist — including background, framing, and template matching: How to Prepare the Perfect Photo for AI Baby Dance Videos.
Why this matters
When you convert image to video, the model must preserve identity across frames. A clean photo makes identity consistency much easier, which means fewer warped frames and better facial stability.
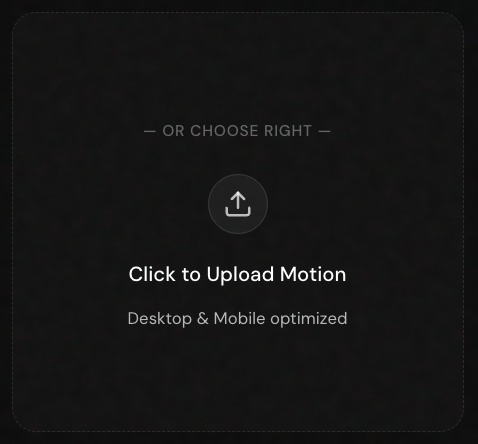
Step 2: Pick a style or motion template (no prompts needed)
Once your photo is ready, define the motion. Unlike text-to-video tools, our generator works with motion templates, not text prompts — which means no prompt writing, no prompt engineering, and far fewer failed outputs.
You usually have two paths:
- Select a preset template / style
- Upload your own motion reference video
When to use a template
Use templates when you want:
- Fast setup with zero prompt writing
- Predictable dance rhythm
- Better first-try success rate
Templates are the best starting point for most users because the motion profile is already curated for stable output.
When to upload your own motion
Use your own motion reference when you need:
- A specific choreography
- Niche movement that templates do not cover
- Closer creative control
For custom motion, keep reference clips short and clean. Excessive camera shake or chaotic movement usually hurts quality.
For a deeper explanation of motion control vs pure prompting, read: Motion Control vs Text-to-Video Prompts.
Baby dance AI prompts: do you need them?
Many users search for "baby dance AI prompt" because they assume this tool requires prompts like other AI video generators.
The short answer: you don't need prompts here.
Our generator uses motion control templates instead of text prompts. This means:
- You skip the trial-and-error of prompt engineering
- Results are more consistent across runs
- Beginners get good output on the first try
If you want to use a text description to refine the style, there is an optional field — but for most baby dance videos, choosing a template is faster and gives better results than writing a prompt.
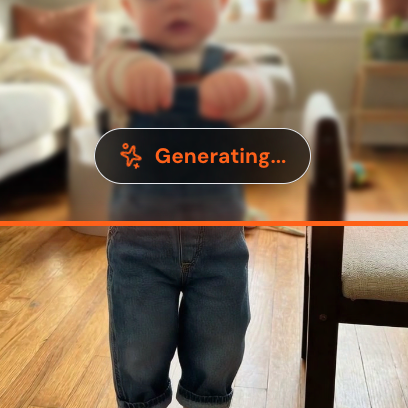
Step 3: Generate, review, and export
Now generate your first pass. Keep it short, then iterate.
Recommended generation order
- Run a short test first
- Review face stability and body coherence
- Adjust one variable at a time (photo crop, template, quality mode)
- Re-run only when needed
This reduces wasted credits and helps you identify what actually improved output.
Quality mode guidance
- Use Standard for quick previews
- Use Pro for final social output
If your goal is posting, finalize in higher quality mode. Repeatedly exporting low-quality drafts can make the final share look worse after social platform compression.
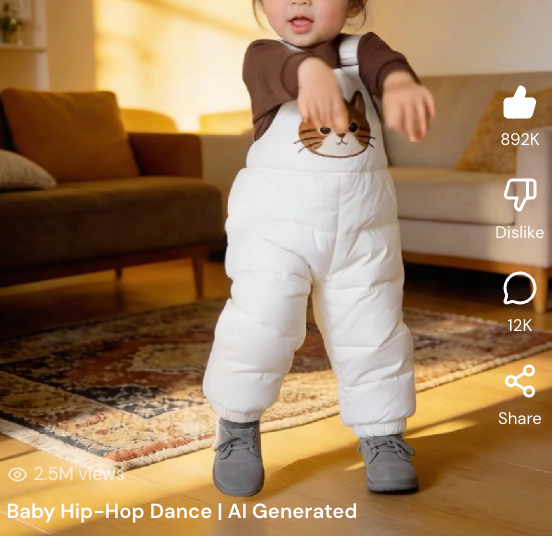
Step 4: Download and share (without losing quality)
Once the output looks right, download the original generated file and share from that file directly.
Best sharing practice
- Upload the original file to TikTok/Reels/Shorts
- Avoid re-recording your screen
- Avoid multiple re-exports through editing apps unless required
- Keep captions clear in the first seconds (for retention)
Platform reminder
Most social platforms compress video. Starting from a sharper master file is the easiest way to keep acceptable quality after compression.
Common problems and fixes
1) "My output looks blurry"
Most common causes:
- Low-quality input photo
- Standard mode used for final output
- Overly aggressive motion for the source image
Fix path:
- Replace source with a cleaner photo
- Use higher quality mode for final run
- Try a more stable template first
Detailed troubleshooting: How to Fix Blurry AI Baby Dance Videos.
2) "The face changes too much across frames"
Most common causes:
- Subject is too small in frame
- Face is partially blocked
- Motion reference is too complex
Fix path:
- Re-crop so face is larger and clearer
- Use a less chaotic motion template
- Re-run with one controlled change at a time
3) "Generation feels stuck or fails"
Most common causes:
- Temporary server load
- Unstable upload
- Unsupported or low-quality source media
Fix path:
- Refresh and retry
- Re-upload original media files
- Start with a shorter run to validate pipeline
If problems continue, use the Help Center.
4) "Credit usage is confusing"
Your first video is free in the queue and costs no credits. After that, credit cost depends on duration and quality settings. If you are testing, keep clips short. For final output, allocate credits to a smaller number of high-quality runs instead of many low-quality retries.
You can see plan details here: Pricing and credits.
How to get consistently better results
If you want repeatable output quality, use this mini framework:
- Lock the best source photo first
- Test 2 to 3 templates only (not 20)
- Pick one winner and finalize quality
- Archive your winning settings for next run
Treat your workflow like a process, not a lottery.
This single change usually improves both quality and speed.
Is the AI baby dance video generator free?
Yes — your first video starts free in the queue. No credit card required.
New users can generate their first baby dance video for free through our queue system. No credit card, no credits to figure out first. You get the full workflow — upload a photo, pick a template, and export — before deciding whether to upgrade.
When you want faster generation or more videos, you can upgrade to a paid plan. For current plan details, always check: Current pricing and credits
Policy and plan details may update over time, so the pricing page always shows the latest information.
Privacy and safety note
If you upload family photos, especially children, review privacy defaults before sharing publicly.
Start here: Privacy Promise.
The practical rule is simple: keep creations private unless you intentionally want public visibility.
Final checklist (copy this)
Before clicking Generate:
- Photo is clear and well-lit
- Subject is visible enough in frame
- Motion/template matches your goal
- Duration is short for first test
- Final run uses quality mode for publishing
After generation:
- Check first 3 seconds for face stability
- Check fast-motion frames for artifacts
- Download original output file
- Upload directly to social platform